How to Control network traffic using Network ACL
To increase security for VPC with network access control lists that control traffic to or from a subnet level. This tutorial will help you understand, how to control network traffic using Network ACL from an example.
Note: You could see the previous part of this tutorial
- VPC Hands-On Lab -1: – A Complete Guide to create custom VPC in AWS
- VPC Hands-On Lab -2: – How to Connect Public and private subnet in same VPC
- VPC Hands-On Lab -3: – How to connect to an ec2 instance in a private subnet
VPC Hands-On Lab -4
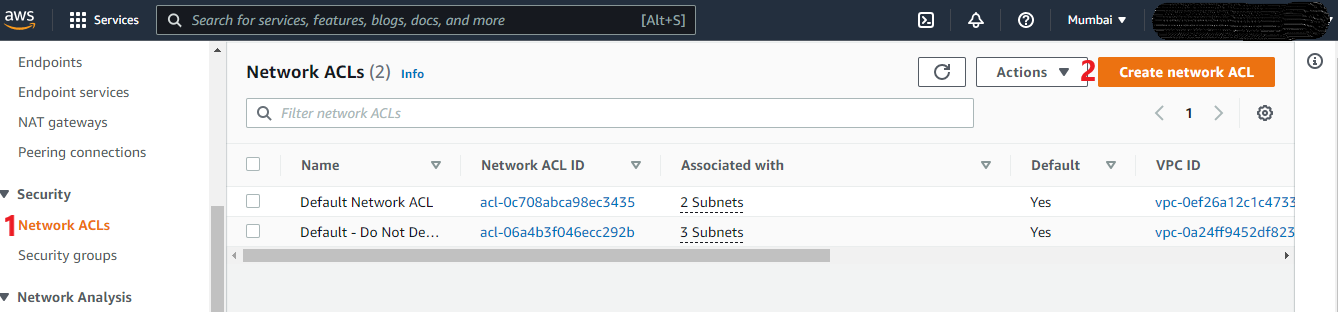
Create a new Network ACL
- Create a new Network ACL: Go to VPC, Select NACLs
Create Network ACL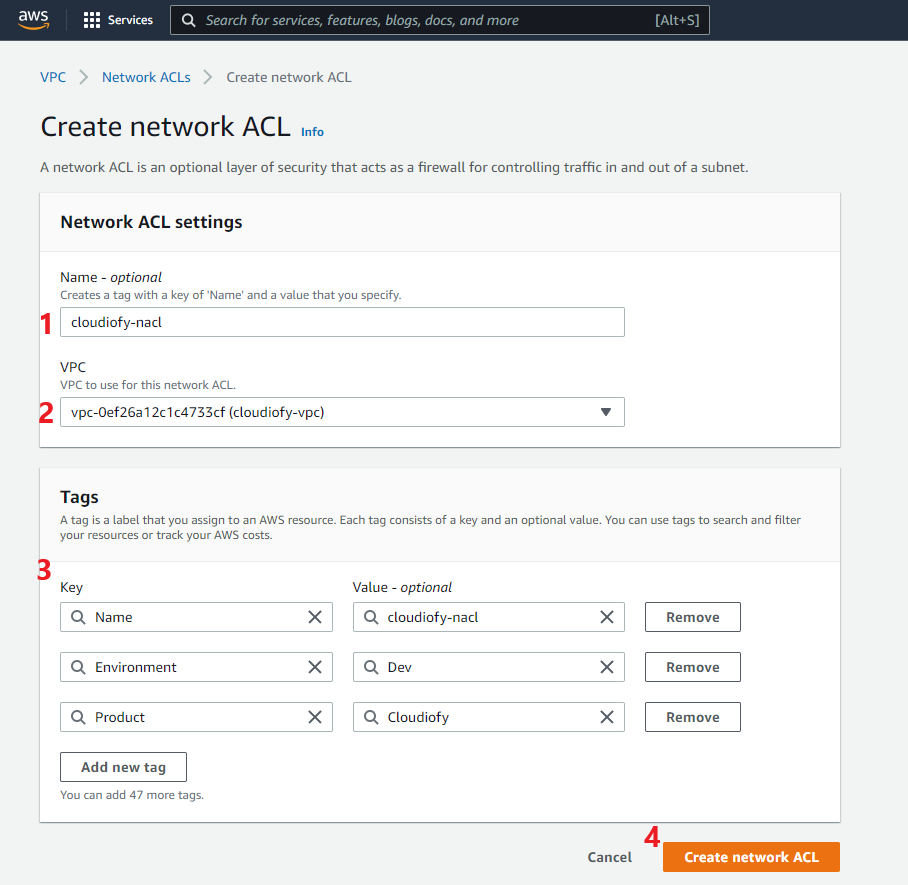
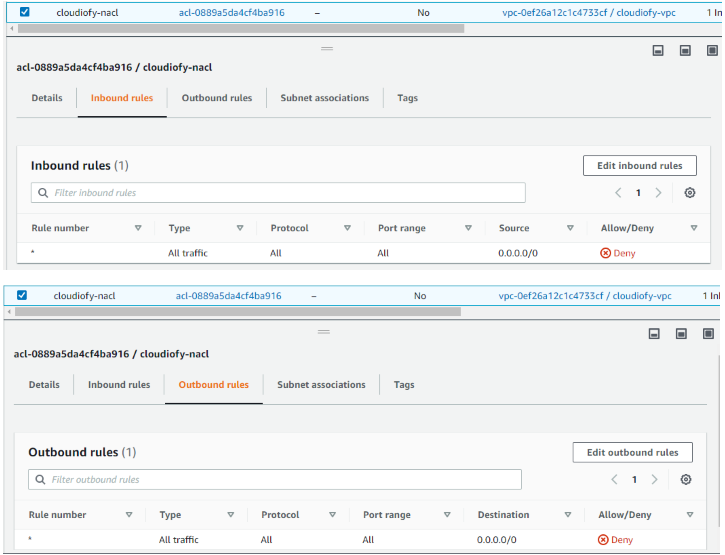
Note: By default, all inbound and outbound rules deny for newly created Network ACL
Associate Subnet to Network ACL
- Associate Subnet to Network ACL
Note: You can associate a network ACL with multiple subnets. but a subnet can be associated with only one network ACL at a time.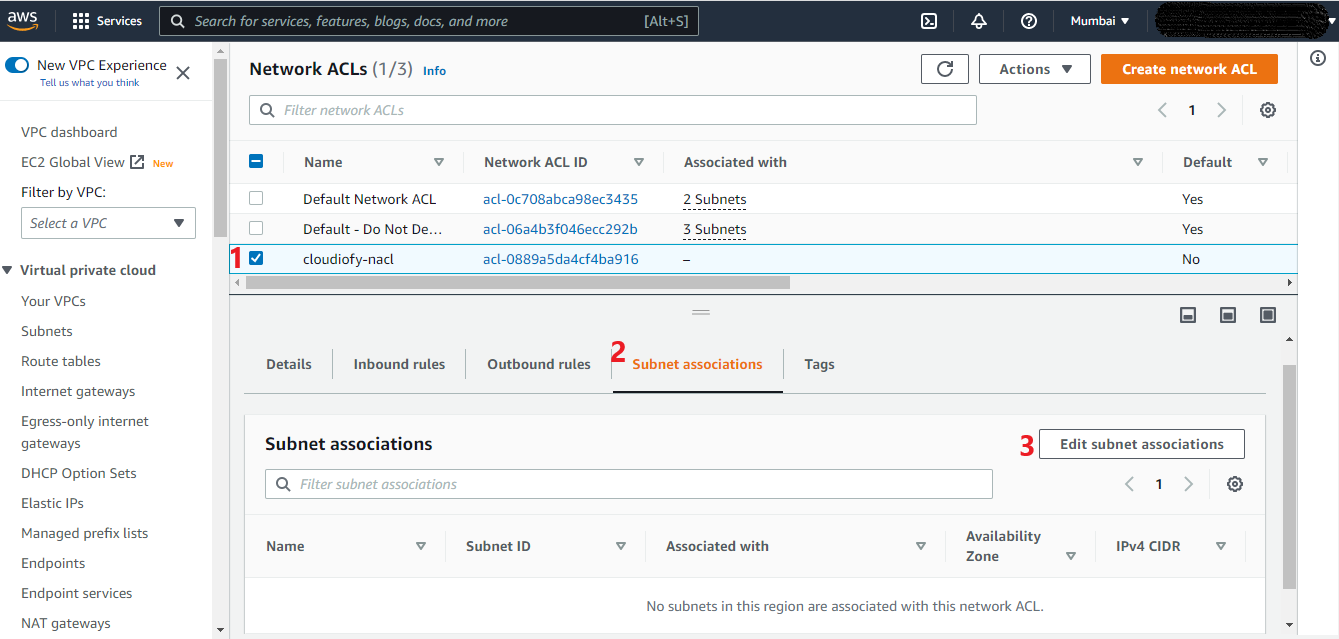

Configure Inbound and Outbound rules
- Configure Inbound and Outbound rules: First, try to access your Public/Application server. It should not be accessible, due to no inbound and outbound rules configured yet. Now, Edit and add a new inbound and outbound rule.

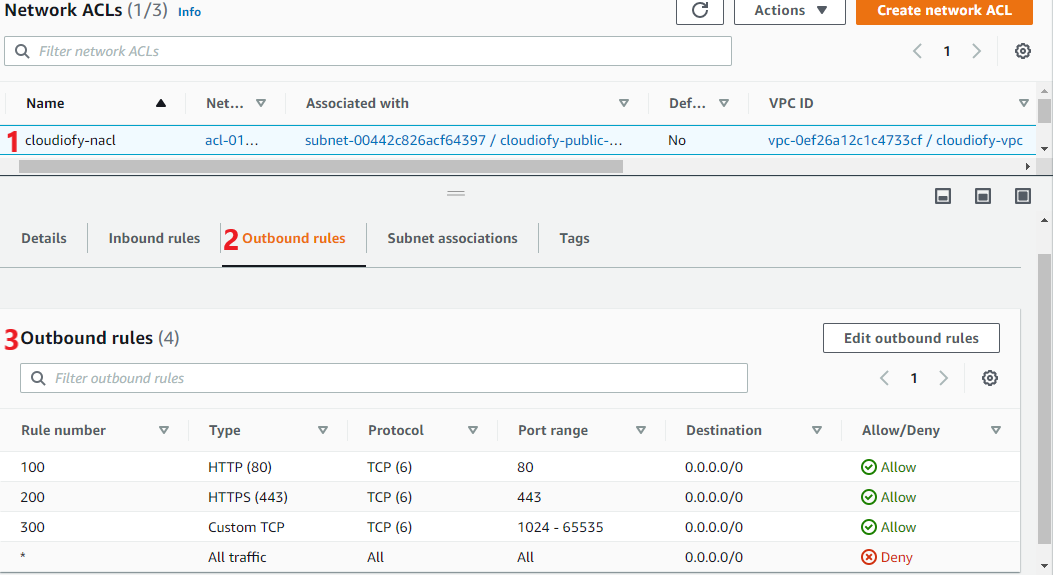
Note: Rules are evaluated starting with the lowest numbered rule. As soon as a rule matches traffic, it gets executed regardless of any higher-numbered rule that might contradict it. For example, If rule 100 allows port 80, and rule 99 denies port 80, finally, port 80 will be denied as rule 99 is evaluated before 100.
Block IP address
- Block IP address: Edit inbound rule and try to block your own IP, After that that you should not be able to access your public/Application server.
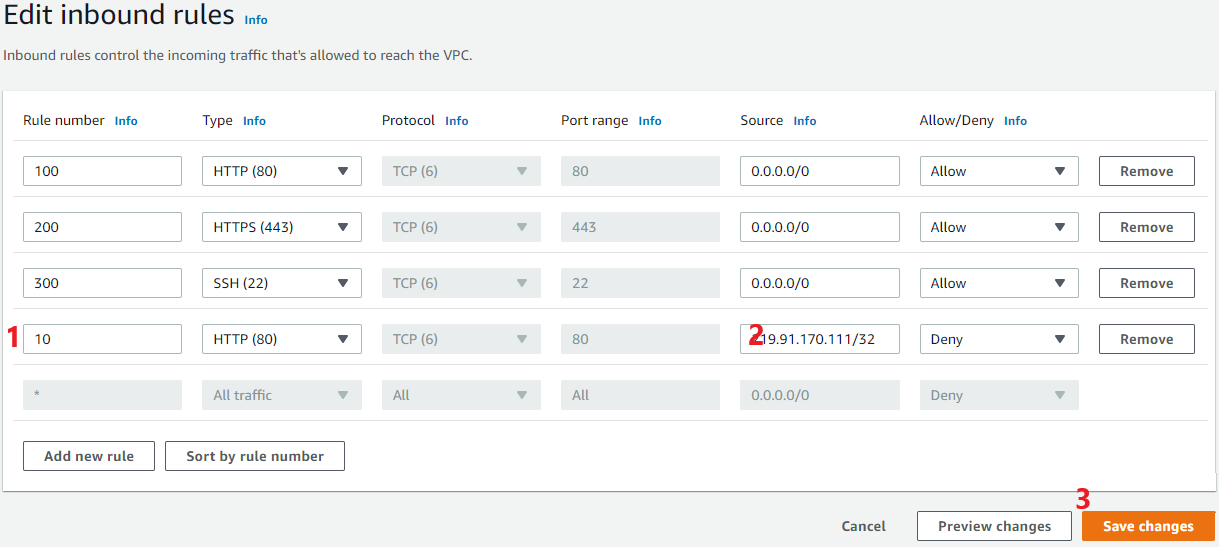
Note: You could try using VPN or remove again inbound rule to access your public/Application server from the internet.
How to control network traffic using Network ACL