How to deploy .NET 6 application in Elastic beanstalk from visual studio
Objective
The objective of this article to demonstrate how to deploy a .NET6 application in AWS Elastic beanstalk from visual studio.
Prerequisites
- Visual Studio 2022 or later with the .NET 6 SDK and AWS Toolkit installed.
- An AWS account and basic knowledge of AWS Elastic beanstalk, .NET6 Web Application.
Step-1: Build .NET6 Web Application with visual studio
If you don’t have an .NET6 based web app you can create by following the steps from this tutorial – ASP.NET Core Razor Pages web app. Here, we have already prepared a .NET 6 based demo application (i.e. cloudiofy-web-app-001).
Step-2: Deploy .NET 6 application in Elastic beanstalk from visual studio
- Open your .NET 6 application in Visual Studio.
- If you have not already created AWS profile, Go to visual studio “View” menu, open “AWS Explorer”, sign in to your AWS account using AWS Explorer.

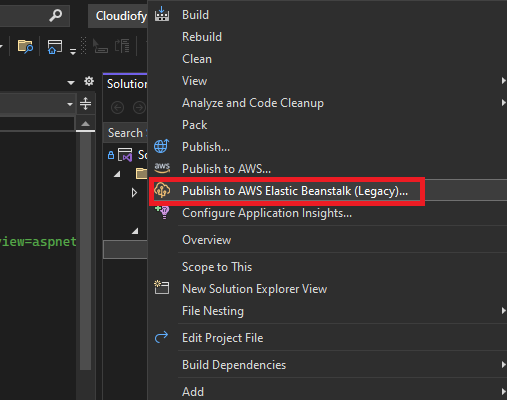
- Right-click on the “Project” in Solution Explorer and select “Publish to AWS Beanstalk (Legacy)..”.
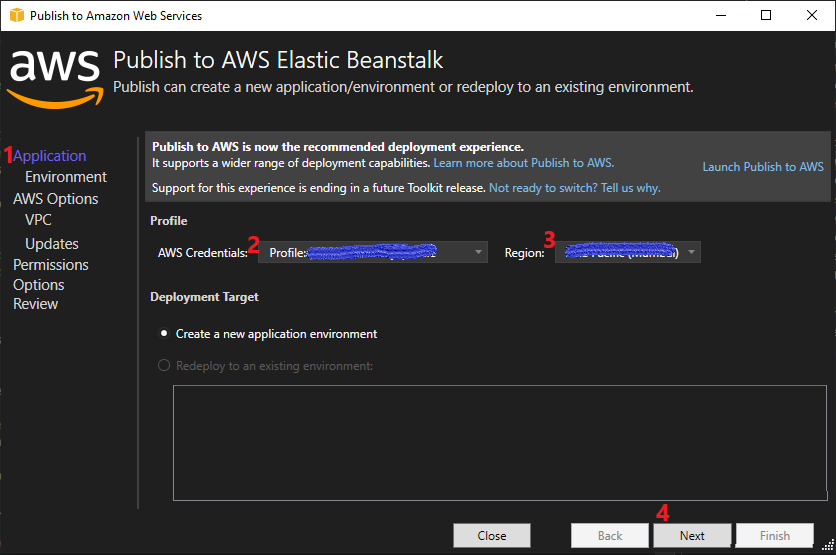
- In the Publish to AWS Elastic Beanstalk wizard, Select the “AWS Credentials”, “Region” where you want to deploy, Select “Create a new Elastic Beanstalk environment” then click “Next”.
- Select the application and environment “name” and check “URL” availability.

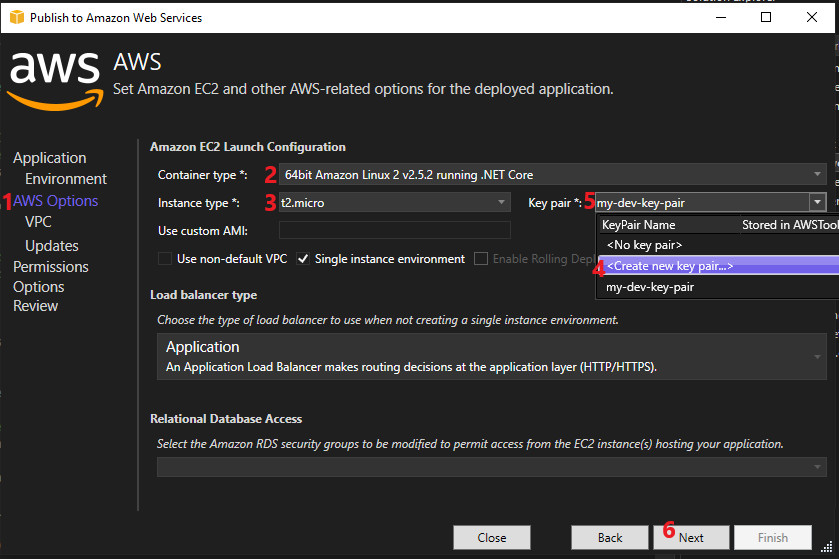
- Configure AWS Options such as “Container Type”, “instance type”, “Create Key Pair” and click “Next”
- Configure permission, keep default option and Click “Next”

- Configure deployment option “build configuration”, “framework” and “Reverse Proxy (nginx)”

- Review your all configuration so far and click “Deploy”

- Deployment process started, wait until deployment complete. After completion if environment status is healthy, it means deployment successfully done.

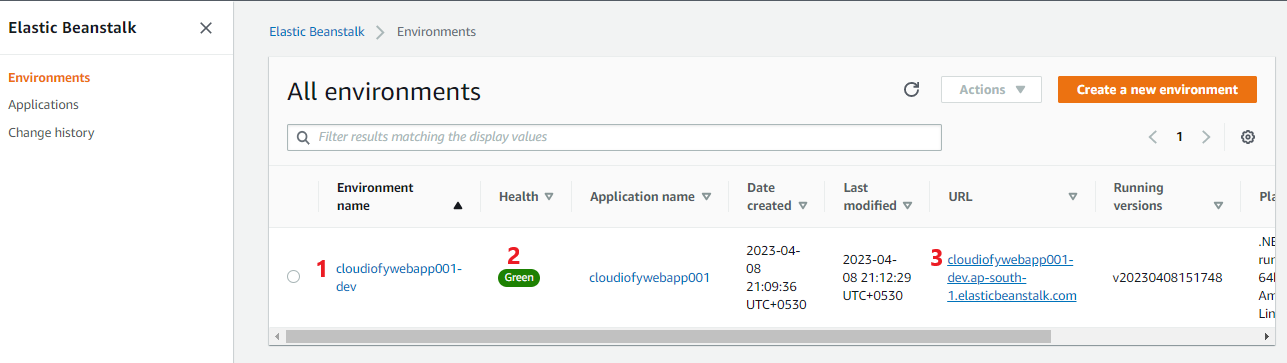
- You can also verify environment status from AWS console, you need to go to “Elastic beanstalk” service and click “Environment”
Step-3: Test your application
That’s it! You have successfully deployed your .NET 6 application in Elastic Beanstalk from Visual Studio.
Now, you can access your application web browser: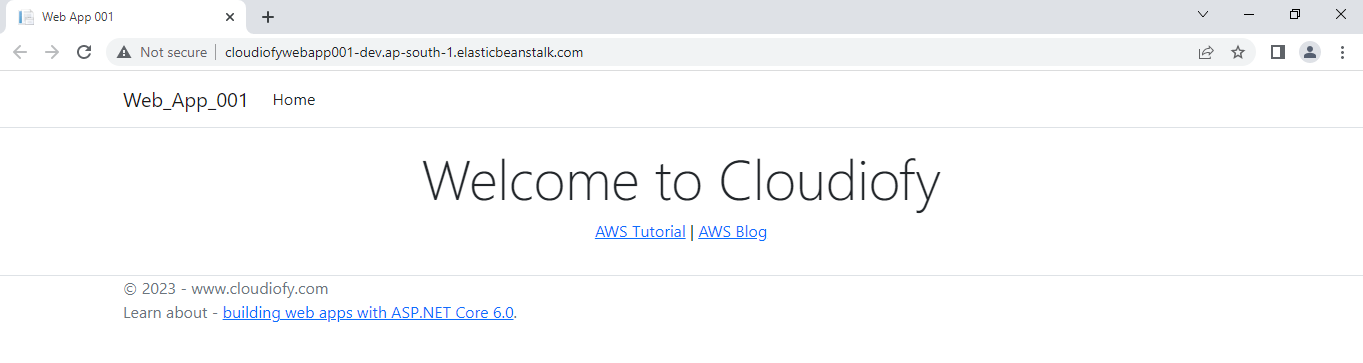
Note: If required, you can also “Terminate” deployed environment from visual studio or delete created resources manually from AWS console.
How to deploy .NET 6 application in Elastic beanstalk from visual studio